
1、Hexo安装指南
1.1安装Node.js
首先下载稳定版Node.js。
安装选项全部默认,一路点击Next。
最后安装好之后,windows按Win+R打开命令提示符,mac打开命令行工具,输入node -v和npm -v,如果出现版本号,那么就安装成功了。
1.2添加国内镜像源
如果没有梯子的话,可以使用阿里的国内镜像进行加速。
1 | npm config set registry https://registry.npm.taobao.org |
1.3安装Git
为了把本地的网页文件上传到github上面去,我们需要用到分布式版本控制工具————Git[下载地址]。
安装选项还是全部默认,只不过最后一步添加路径时选择Use Git from the Windows Command Prompt,这样我们就可以直接在命令提示符里打开git了。
安装完成后在命令提示符中输入git --version验证是否安装成功。
1.4 注册Github账号
接下来就去注册一个github账号,用来存放我们的网站。大多数小伙伴应该都有了吧,作为一个合格的程序猿(媛)还是要有一个的。
打开https://github.com/,新建一个项目,如下所示: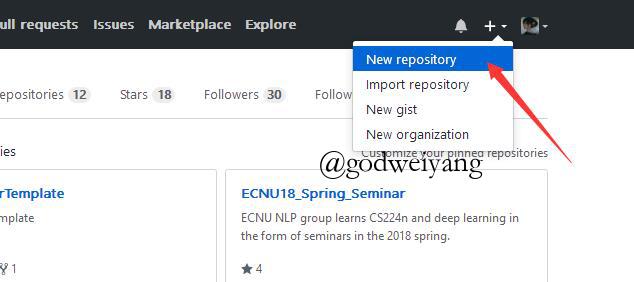
然后如下图所示,输入自己的项目名字,后面一定要加.github.io后缀,README初始化也要勾上。名称一定要和你的github名字完全一样,比如你github名字叫abc,那么仓库名字一定要是abc.github.io。
然后项目就建成了,点击Settings,向下拉到最后有个GitHub Pages,点击Choose a theme选择一个主题。然后等一会儿,再回到GitHub Pages,会变成下面这样: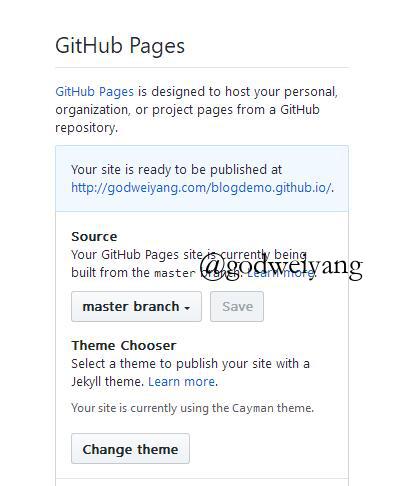
点击那个链接,就会出现自己的网页啦,效果如下: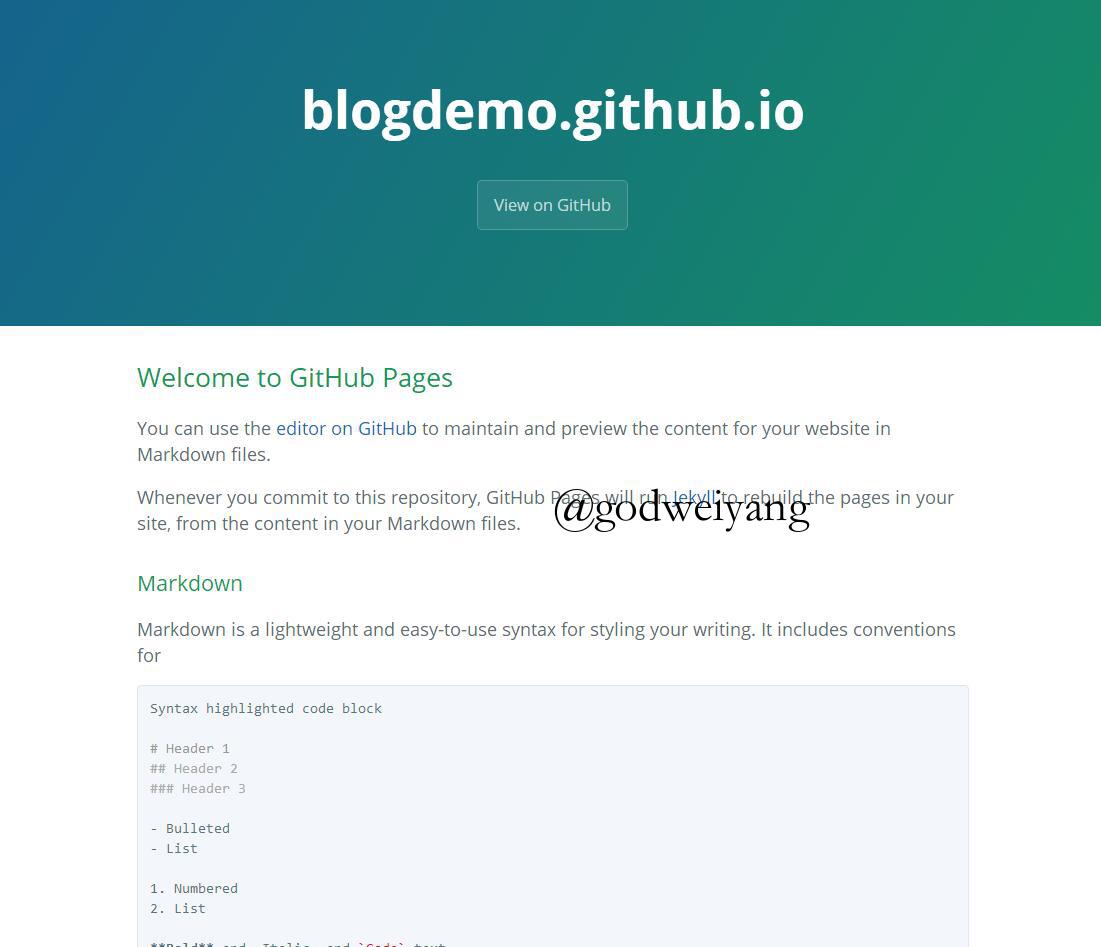
1.5 安装Hexo
在合适的地方新建一个文件夹,用来存放自己的博客文件,比如存放到~/Desktop/Dev/blog目录下。
在该目录下右键点击Git Bash Here,打开git的控制台窗口,以后我们所有的操作都在git控制台进行,就不要用Windows自带的控制台了。
定位到该目录下,输入npm i hexo-cli -g安装Hexo。会有几个报错,无视它就行。
安装报错:Mac install hexo use sudo but sitll permission denied
参照hexo官网 Hexo 安装hexo时,使用命令 npm install hexo-cli -g 却报没有权限:
1 | $ npm install hexo-cli -g |
解决permission denied方法
第一步,赋予目录权限:
1 | $ sudo chown -R `whoami` /usr/local/lib/node_modules |
第二步,安装hexo:
1 | $ npm install hexo-cli -g |
需要注意的点: 在安装hexo时,不要用
sudo命令.
安装完后输入hexo -v验证是否安装成功。
出现 INFO Start blogging with Hexo! 表示成功安装hexo
然后初始化我们的网站,依次输入
$ hexo init blog
$ cd blog
$ npm install
$ hexo g # 或者hexo generate
$ hexo s # 或者hexo server,可以在http://localhost:4000/ 查看
输入hexo g生成静态网页,然后输入hexo s打开本地服务器,然后浏览器打开http://localhost:4000/,就可以看到我们的博客啦,效果如下: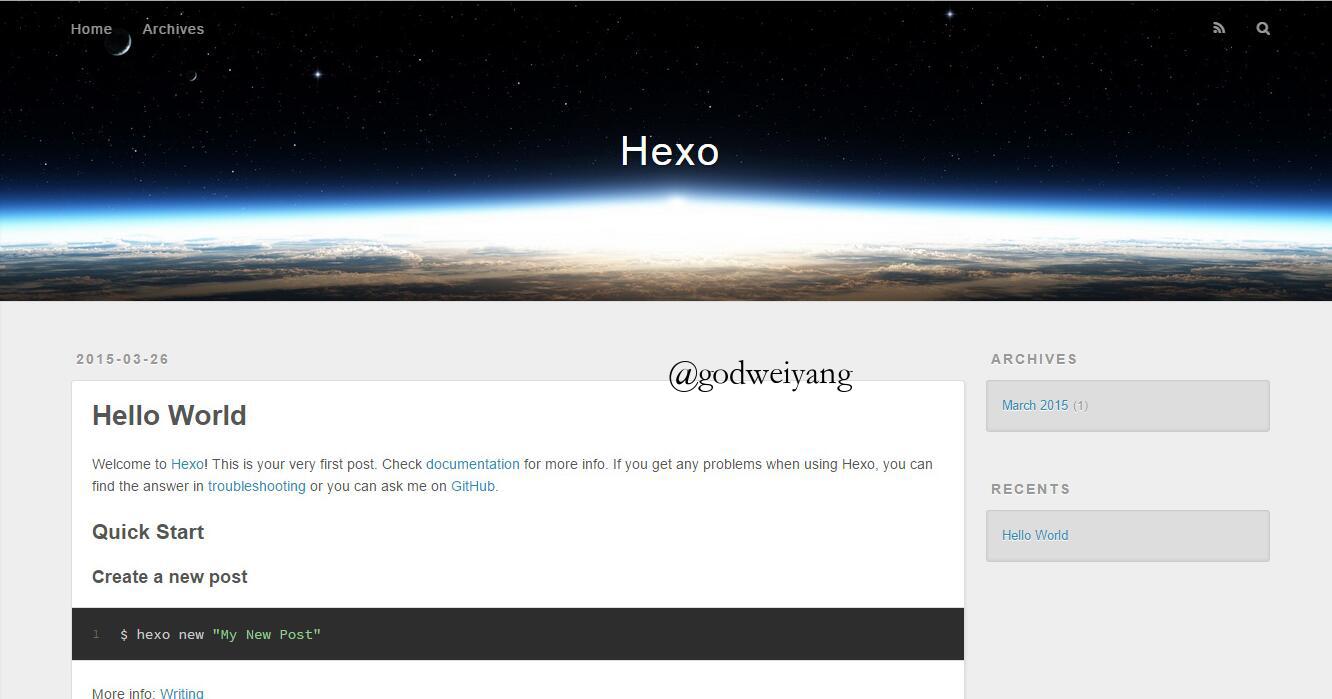
按ctrl+c关闭本地服务器。
1.6连接Github与本地
首先右键打开git bash,然后输入下面命令:
1 | git config --global user.name "godweiyang" |
用户名和邮箱根据你注册github的信息自行修改。
然后生成密钥SSH key:
1 | ssh-keygen -t rsa -C "792321264@qq.com" |
打开github,在头像下面点击settings,再点击SSH and GPG keys,新建一个SSH,名字随便。
git bash中输入
1 | cat ~/.ssh/id_rsa.pub |
将输出的内容复制到框中,点击确定保存。
输入ssh -T git@github.com,如果如下图所示,出现你的用户名,那就成功了。
打开博客根目录下的_config.yml文件,这是博客的配置文件,在这里你可以修改与博客相关的各种信息。
修改最后一行的配置:
1 | deploy: |
repository修改为你自己的github项目地址。
1.7 windows发布
首先在博客根目录下右键打开git bash,安装一个扩展npm i hexo-deployer-git。
然后输入hexo new post "article title",新建一篇文章。
然后打开D:\study\program\blog\source\_posts的目录,可以发现下面多了一个文件夹和一个.md文件,一个用来存放你的图片等数据,另一个就是你的文章文件啦。
编写完markdown文件后,根目录下输入hexo g生成静态网页,然后输入hexo s可以本地预览效果,最后输入hexo d上传到github上。这时打开你的github.io主页就能看到发布的文章啦。
1.8 Hexo命令行发布总结
hexo clean
hexo g # 或者hexo generate
hexo s # 或者hexo server,用浏览器打开http://localhost:4000/ 查看
hexo d
如何用post生成一篇博客的情况的详细说明。
总结Hexo发布就是三步:
- 执行
hexo new post myBlog,在source/_post文件夹下生成一个 myBlog.md的文件。 - 编辑myBlog.md,书写自己的博客内容。
- 执行
hexo g生成静态页面; - 执行
hexo s启动本地服务器浏览器打开http://localhost:4000/ 预览效果; - 执行
hexo d将文章部署到github实现真正的网络博客。
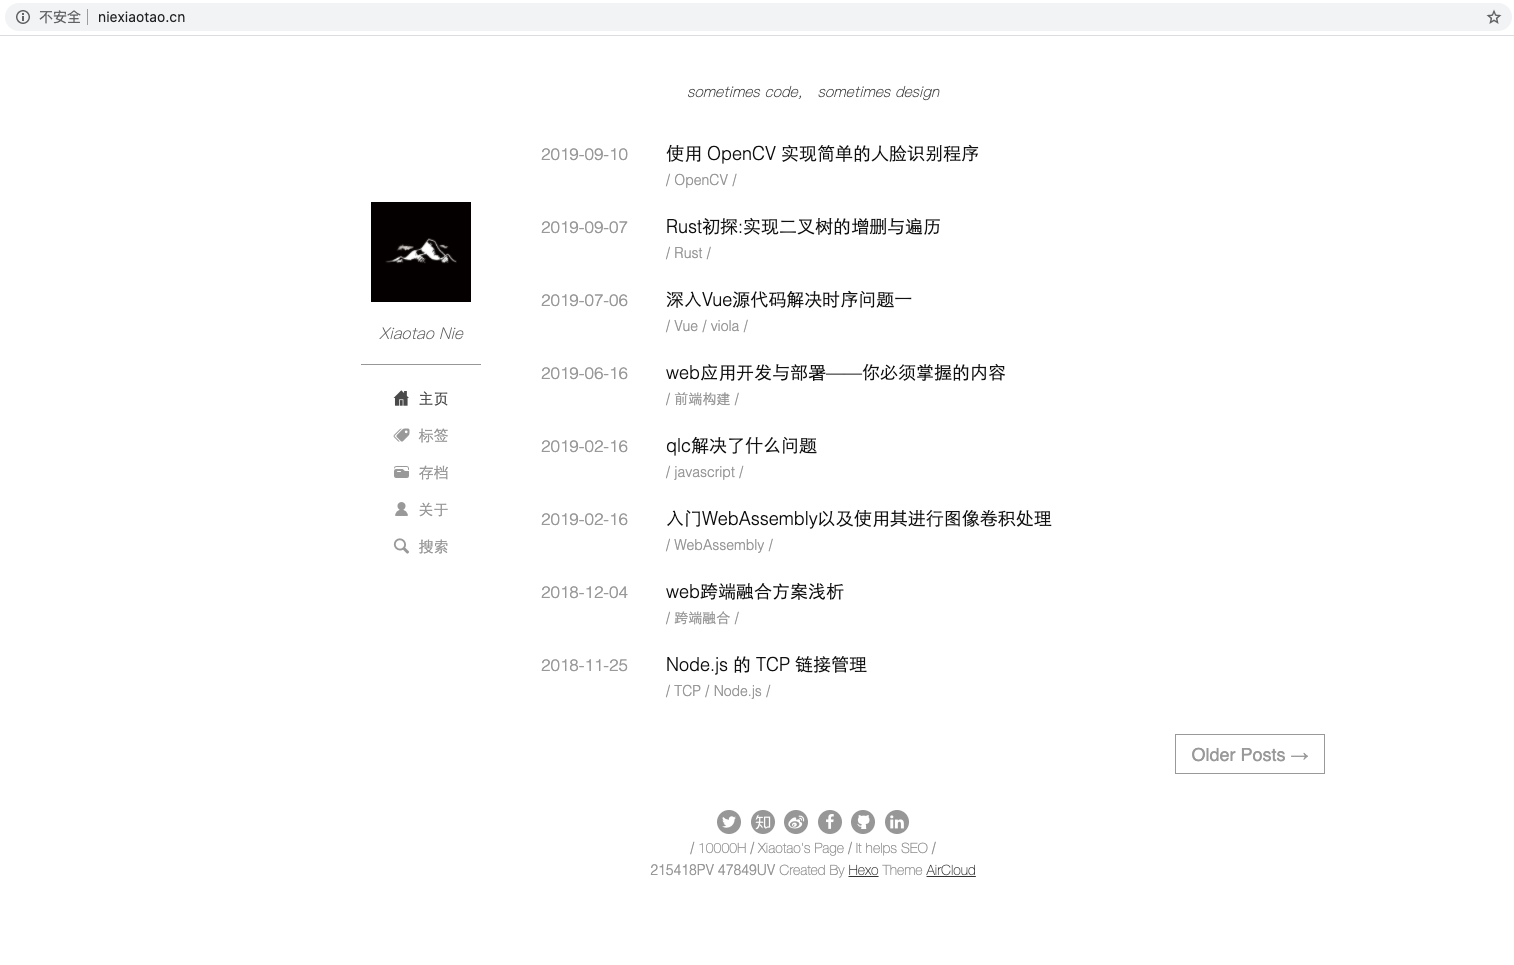
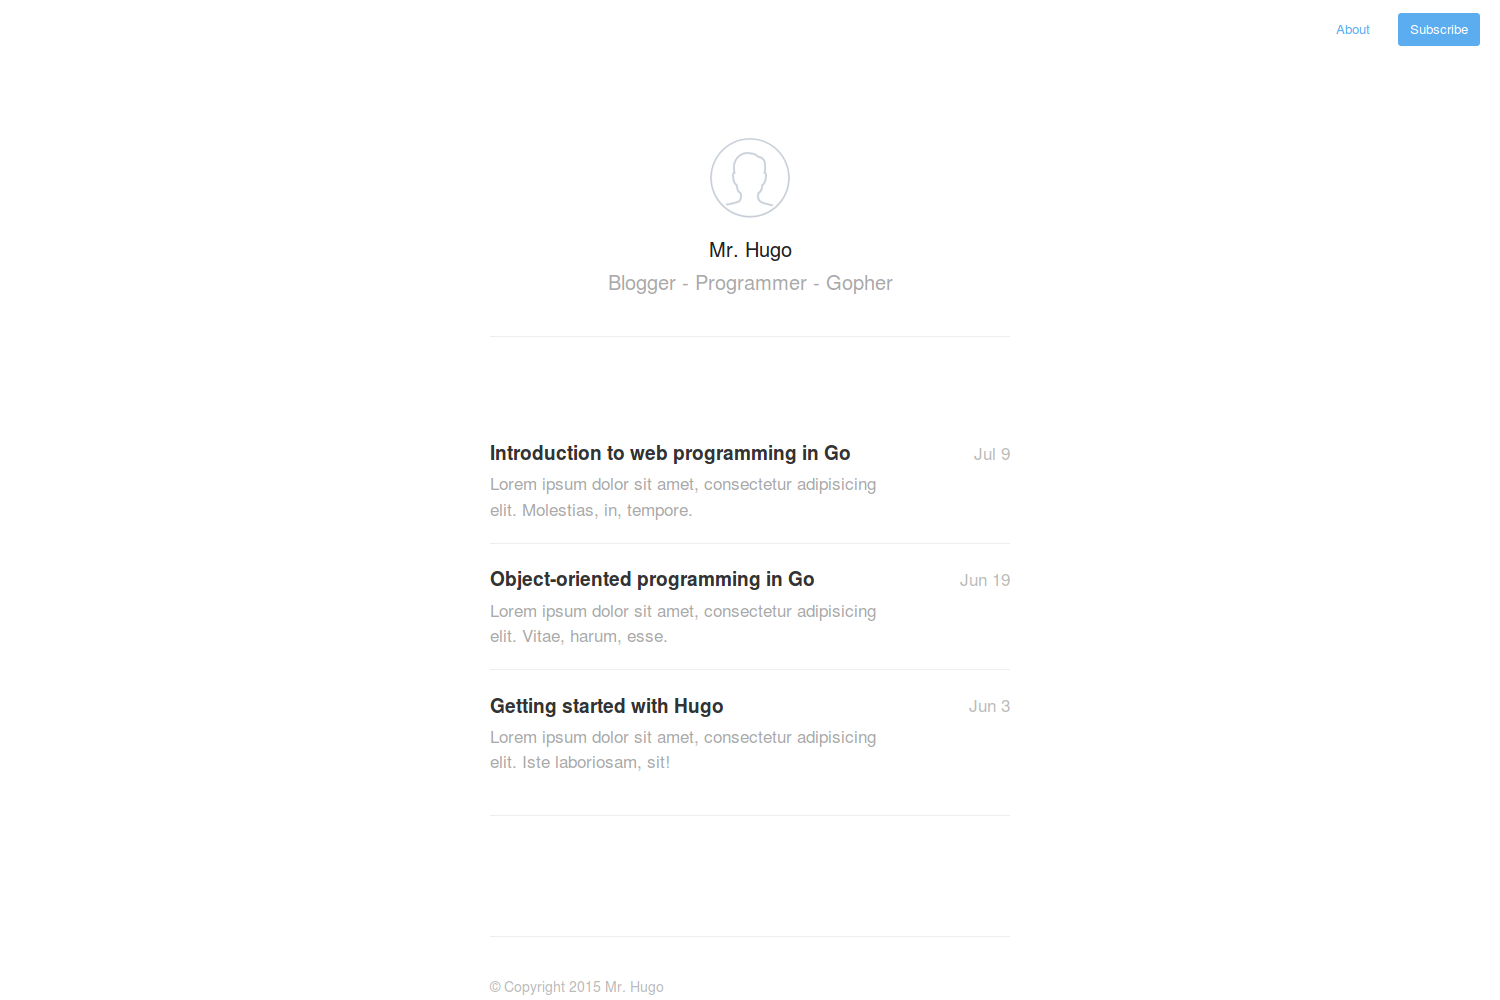
1.9 Hexo博客主题推荐
闪烁之狐 | Hexo博客主题之hexo-theme-matery的介绍
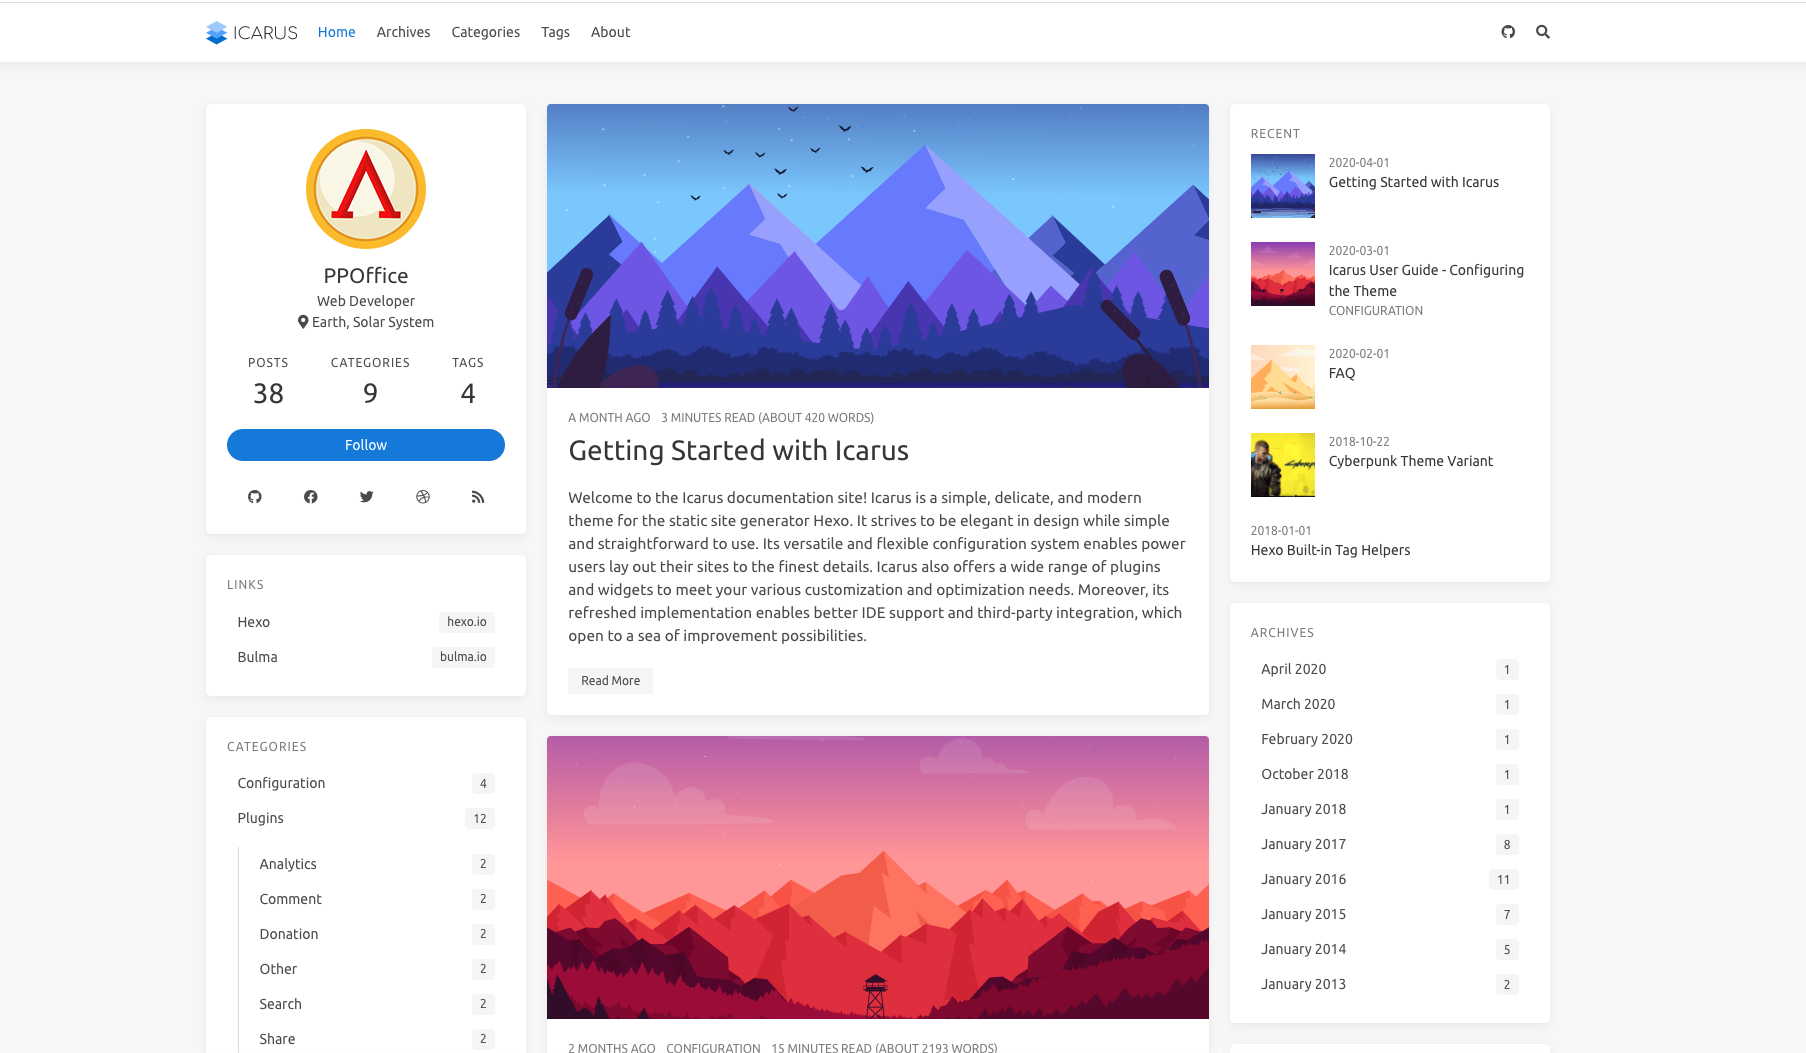
2.0 Hexo 修改主题
- cd themes
- git clone https://github.com/aircloud/hexo-theme-aircloud
- 打开_config.yml,修改themes:hexo-theme-aircloud
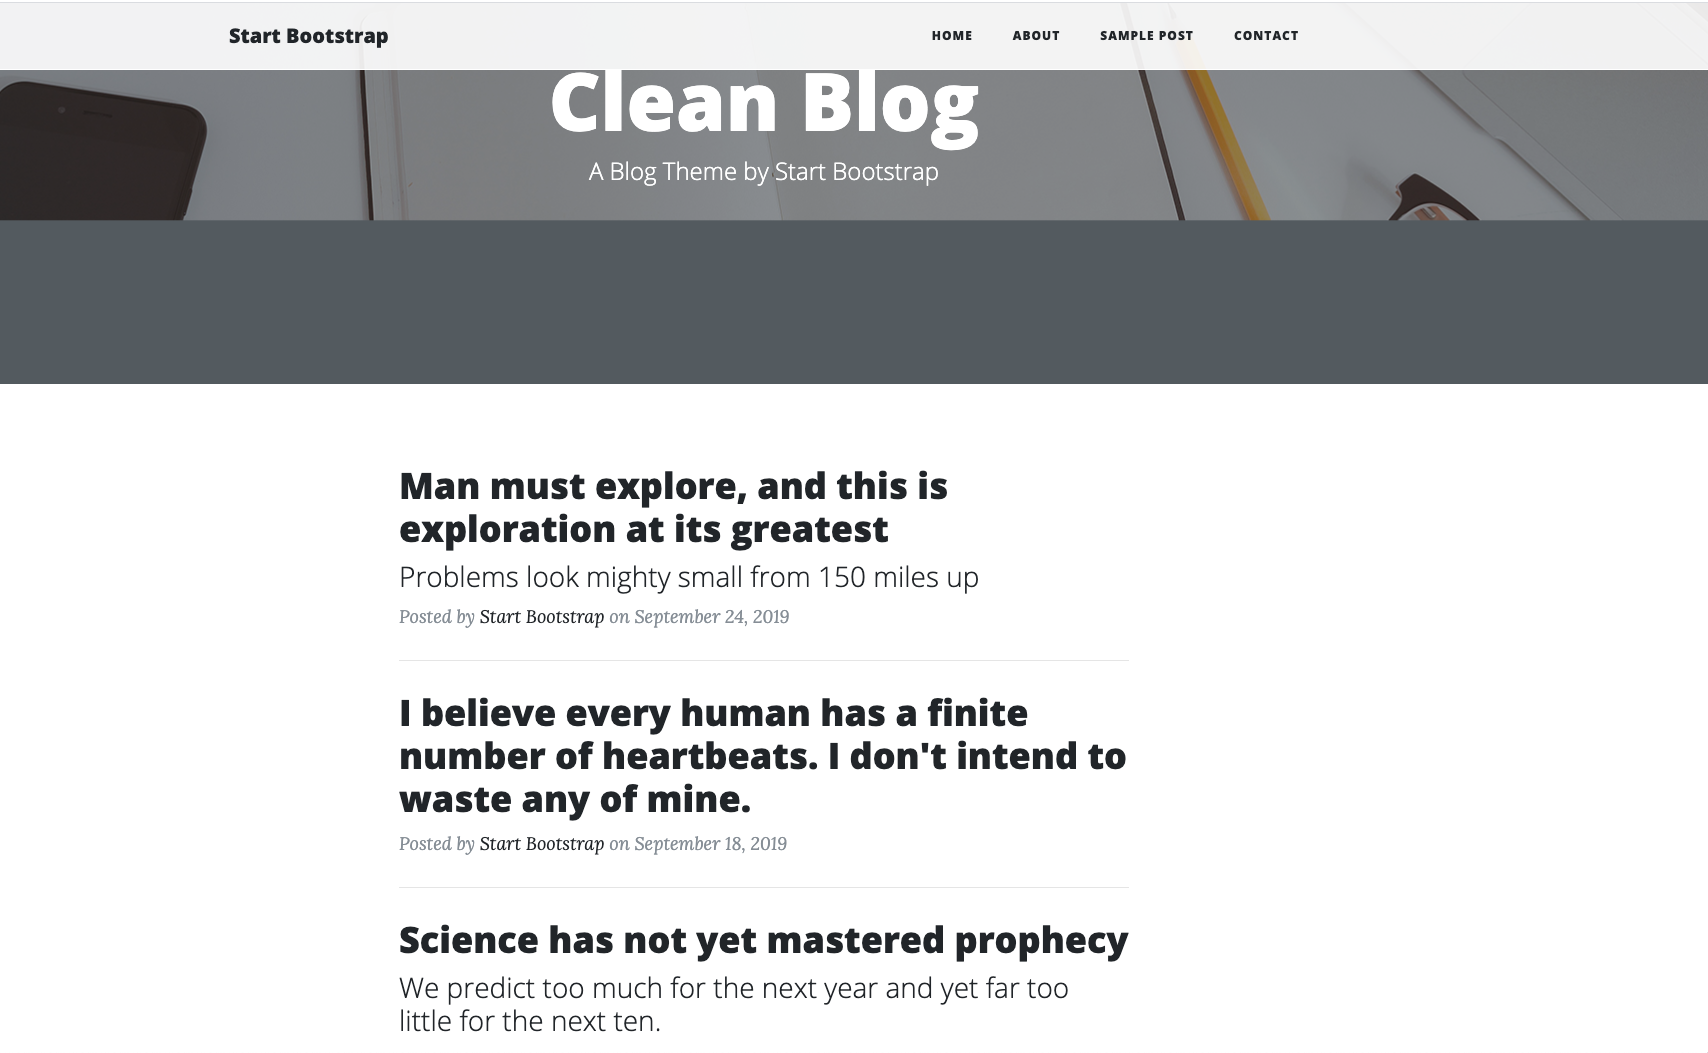
2.1 Hexo 技术风
主题 - NexT.Pisces
-
 -
2.2唯美文艺风
hexo-theme-matery | 文档 | 闪烁之狐 韦阳的博客
-
-
 -
2.3 Hexo字体
2.4 Hexo代码高亮
1 | swift语法高亮注意首字母不能大写 |
2.5 报错
1、Permission denied (publickey).
将SSH访问修改为https访问,修改hexo根目录下的_config.yml文件如下:
1 | # Deployment |
2、hexo g报错:can not read a block mapping entry
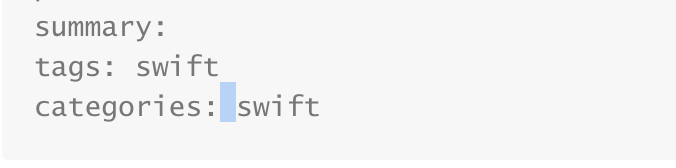
hexo的文件配置是怎么样设置属性的:
在配置文件里面,都是按照
属性名+英文冒号+英文空格+属性值,这个形式进行属性设置的。
3、hexo tags 404:
方法一(在SOURCE目录下默认无CATEGORIES和TAGS子目录):
新建categories和tags子目录以及相应文件
1 | hexo new page "tags" |
编辑source/tags/index.md文件,添加如下:
1 | type: "tags" |
方法二:
1. 编辑scaffolds/draft.md如下, hexo clean && hexo d即可
1 | --- |
2、编辑scaffolds/post.md如下
1 | --- |
3、编辑tags/index.md如下
1 | --- |
2.6 设置tag标签
1 | title: Tagcloud |
2.7 主题类博客
2.8 Hexo+Github图床问题
使用Github图床会遇到连接WiFi时上传失败的问题,决定看下网络延时到底是多少:
- 方法:
ping raw.githubusercontent.com - 对比WiFi和4G热点时分别延时ms
使用WiFi网络延迟最大延时388ms
1 | $ ping raw.githubusercontent.com |
使用4G流量最大延迟662ms-1006ms
1 | $ ping raw.githubusercontent.com |